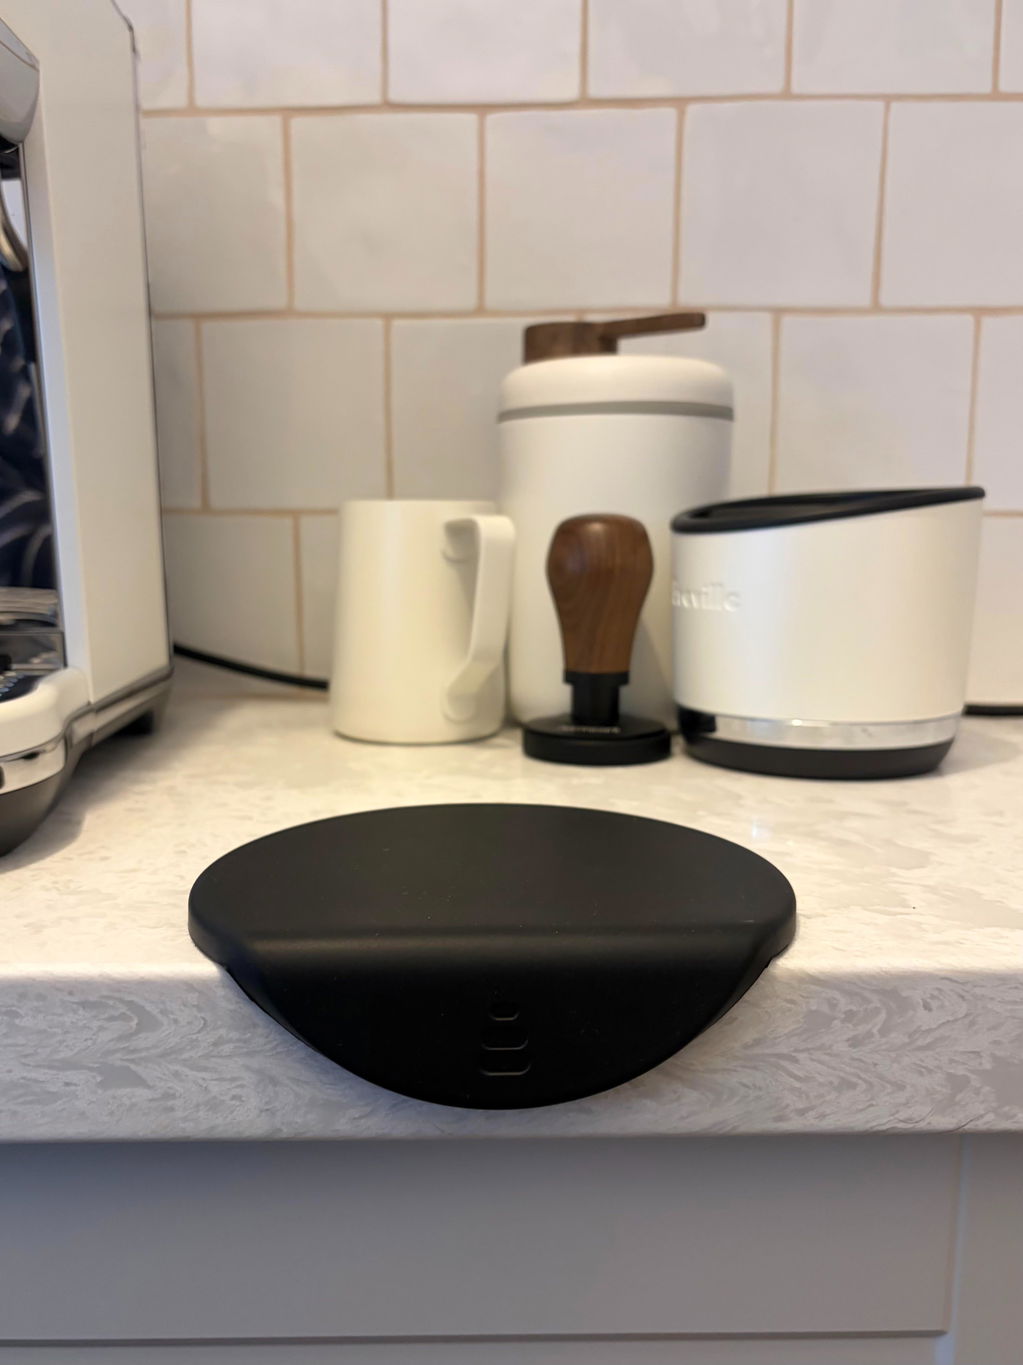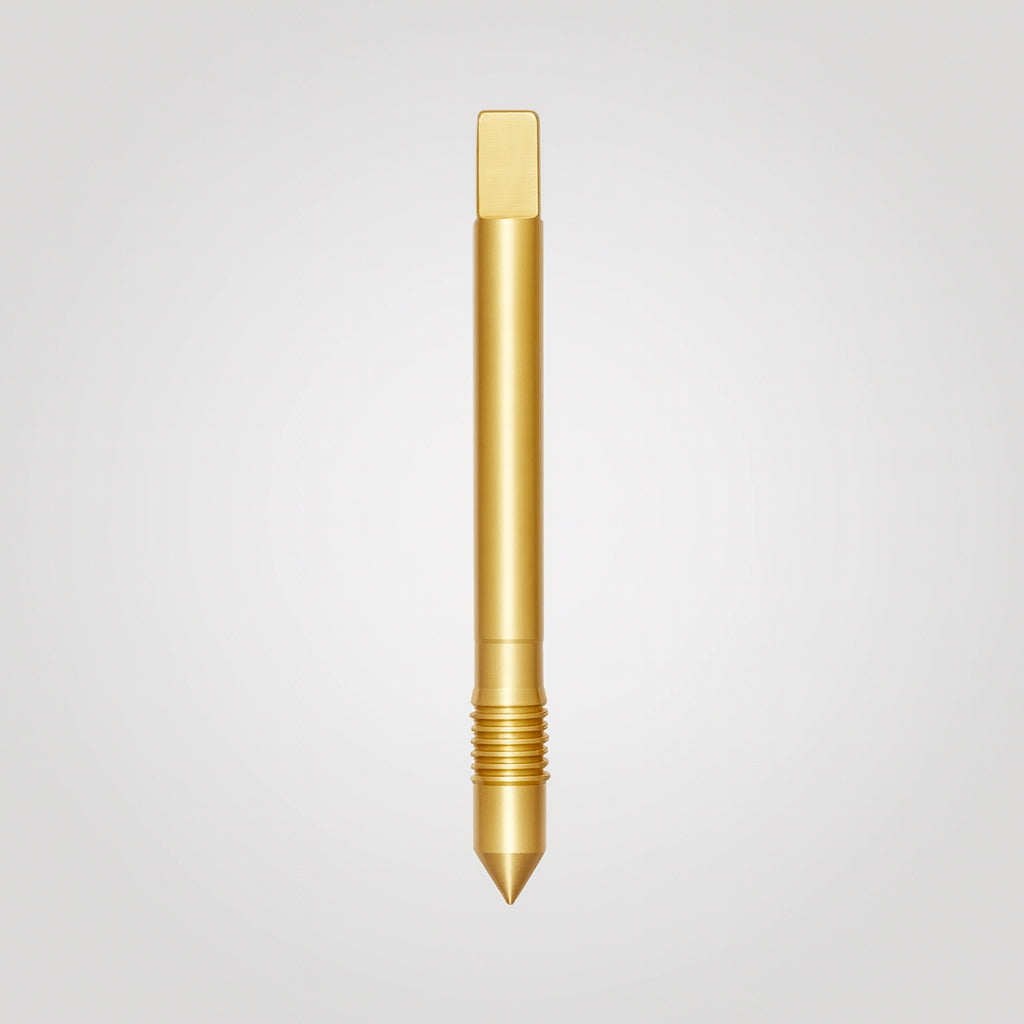

The little guy - Steam Pin
This part can be replaced by you at at home. If in doubt please contact us.
WARNING: Do not attempt internal repairs.
Steam Pin O-Ring is ordered separately.
Compatible with all Otto and the little guy machines except for units with OPE serial numbers. Contact us for units with OPE serial numbers.
Service Tip: Steam Knob Leak & Pressure Loss
If you're experiencing steam leaking from the steam arm or noticing low pressure when steaming milk or making coffee, the issue may be with the steam pin inside the steam knob assembly.
What’s Happening?
The steam knob is connected to a conical steam pin that blocks the steam flow when closed. If this pin isn’t sealing properly, steam escapes — reducing pressure for both milk texturing and espresso extraction.
Common Cause: Mineral Buildup
In hard water areas, calcification is the most common culprit. Minerals from dried steam can build up, preventing the pin from sealing tightly.
Quick Fix (Try This First):
If you notice steam leaking or reduced pressure, it may be caused by a small build-up of calcification around the steam pin. A simple step you can try is turning the steam knob back and forth three to four times, opening and closing it firmly. This movement often helps to break away any minor calcification and allows the pin to seat properly again. When doing this, please don’t overtighten the knob — applying too much force may damage the steam tip or the knob itself.
Still Leaking?
If that doesn’t work, the steam pin may be worn and need replacing. Here’s how to access it:
How to Remove and Inspect the Steam Pin
- Unscrew the Steam Knob. Use a Phillips head screwdriver to remove the screw at the center of the knob. Slide the knob off.
-
Remove the Steam Valve Collar. Try turning it counterclockwise by hand.
If it doesn’t move easily, go to Step 3. (If needed) Remove the Steam Collar Insulator. Pull it off by hand, then try unscrewing the Valve Collar again. - Unscrew the Steam Valve Collar. If it’s tight, use pliers with a soft cloth or rubber grip to avoid scratching it.
- Remove the Steam Pin. Unscrew it counterclockwise by hand. If it’s stuck, a small spanner may help.
Reassembly
Reinstall all parts in reverse order. Make sure the steam pin is seated properly to prevent future leaks

Steam Pin O-Ring and Brass Washer Configurations
(Otto and The Little Guy Espresso Makers)
Over the years, the Otto and The Little Guy espresso makers have used different steam pin and O-ring configurations. It’s important to identify the correct version before ordering parts.
Please note: we do not sell the brass washers, as they do not wear out under normal use and can be reused.
-
Original Otto design
This version uses two 2.25 mm brass washers. The sealing system requires three O-rings. This design is specific to the original Otto machines and is not compatible with later Otto or The Little Guy models. The Little Guy steam pin is NOT compatible with the original Otto design. -
First The Little Guy design
This version uses a single 6.5 mm brass washer. This design requires only one O-ring, making it simpler to service than the original Otto configuration. -
Second The Little Guy design
This version uses two 3.25 mm brass washers. It is backward compatible with the first The Little Guy design. The O-ring sits centrally between the washers, which reduces the risk of damage and improves longevity.
If you are unsure which configuration your machine uses, please contact us before ordering parts.